Before last year, littleBits were not familiar to me. However, there is a very generous foundation in my city and they invited me to submit a grant on behalf of Brewer Public Library’s youth services department. I looked online for ideas of popular STEAM based programming at public libraries that I could use as models for my grant, and WHAM, I discovered littleBits. We have a very small budget at our library, and I try to stretch our funds out as much as I can (I budget $0.30 a child, and usually I try to do programs for less). This grant, though, allowed me to dream about programming options that I would never be able to offer otherwise.
 LittleBits has many kits to choose from, but I wanted something that would allow me to lead a whole room filled with kids in a program. I wrote my grant to purchase the Workshop Set, which allows 8-24 kids to build at the same time. This kit was $2,000, but I was able to purchase it on Black Friday when they had a sale. Also, as an educator (or librarian), you receive a 5% discount. if you plan to write a grant to purchase your own littleBits, the good news is that littleBits has already done lots of research for you that you can refer to in your grant application. On their website, littleBits has already posted how littleBits connect to Common Core standards, so you have lots of research to prove the value of this resource.
We hosted four Wednesday after-school programs in January 2018 using the littleBits, and I was shocked at how much the kids loved them. I also brought them to schools during STEAM outreach programs and worked with students in grades 1-8. Obviously, this was a huge age difference, but the 1st graders were able to understand how the littleBits snapped together and started creating working circuits just like the 8th graders. If you are looking for a resource that works across age groups, littleBits might be what we are looking for.
What they are: littleBits are tiny electronic pieces that snap together with magnets, allowing students to create their own circuits. The littleBits founder and CEO, Ayah Bdeir was featured on a TED Talk where she shared her company’s vision to provide youth an opportunity to be inventors of technology, not just consumers of it.
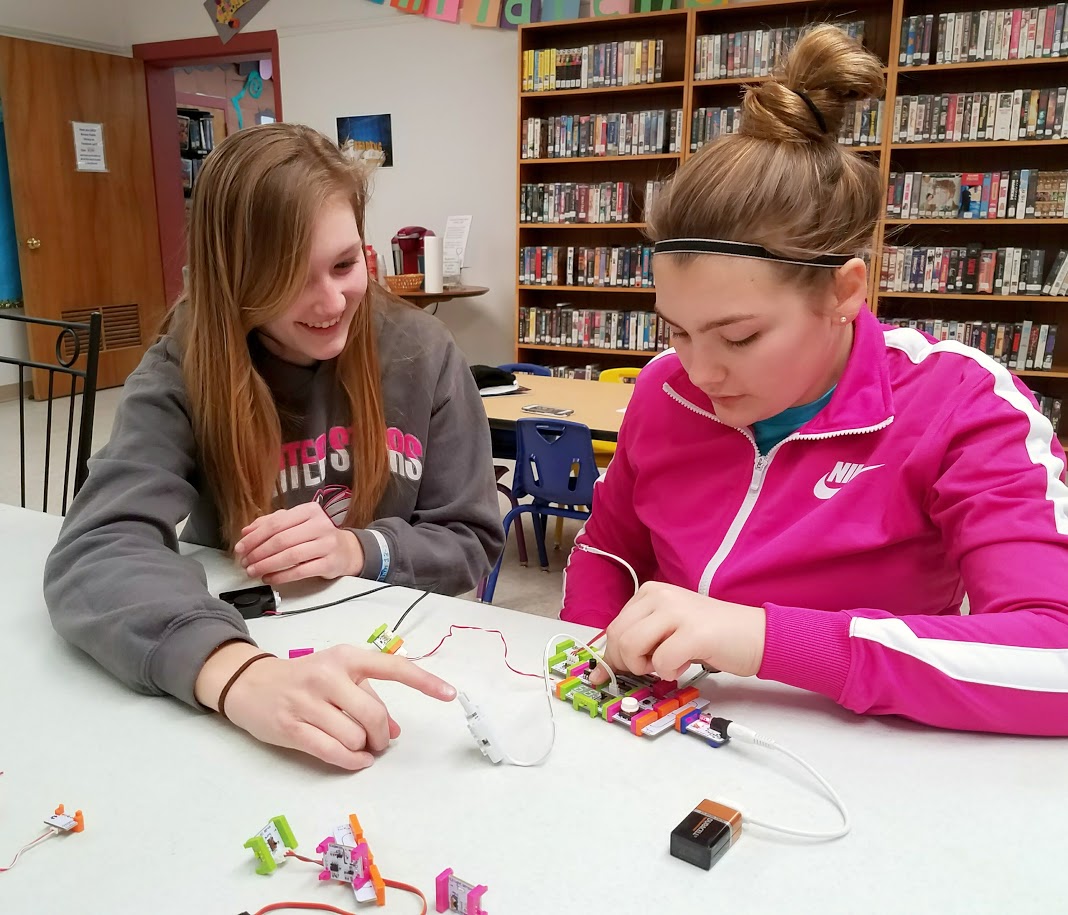
LittleBits introduction
Some things to know before you buy: LittleBits has lots of lesson plans online on their website. However, I wish I had known that the Workshop Set does not include all the pieces that many of the lesson plans ask for, and buying littleBits outside of a set is not cheap. Expect to pay $6-$30 per piece. It was frustrating to go through the lesson plans only to keep finding that they asked for pieces that I did not have. If you purchase the STEAM kit, there seem to be lots of lesson plans that go with that particular kit, so you may have better luck going that route over the Workshop set.
Also, there are instructions online from Instructibles.com for how to make your own DIY littleBits. Obviously, they are not as pretty, but if you are looking for a makerspace idea, that might be just what you want.
Here are our lesson plans! Each lesson lasted approximately 45 minutes. Leave 10 minutes at the end for clean-up. Kids loved to sort the littleBits at the end of each program. I had an empty table out and simply asked the kids to sort their pieces. The links bring you the lessons plans littleBits has made available on their site.
Lesson 1: Introducing littleBits 
When possible, I think it always best to allow kids to work alone with resources like littleBits. But, since I only had eight kits worth of bits, I had to put students in groups of 2-3. This seemed to work fine, but groups of two definitely worked better than groups of 3.
I followed the Introducing littleBits lesson plan from the website almost to the letter for steps 1-3. They thought through many of the trouble spots with giving littleBits out to kids with this lesson, and there is a reason why they tell you to do things in the order that they do. For step 4, I printed out pages 7-23 of the STEAM Student Set Invention Guide just for myself. After giving the students about 10 minutes to play with the littleBits for step 3, I pulled out my pages from the Invention Guide, told the students to take apart any circuit they had built, and then I verbally gave them instructions to build one of the page’s circuits. Example, “Okay! Now, connect your blue Power bit, to your pink Button bit, to your green Fan bit. Everyone has it? Great! Where would you see a circuit like this in real life?” The kids loved this, and we went through maybe 8-10 before stopping.
To bring the program to a conclusion, I gave the students 10 more minutes to play and experiment. I walked around to every group and asked them about their circuit. After I had talked to every group, I asked the students to bring their littleBits to the open table, and sort all their bits. Once everything was sorted, I asked them to have a seat, and I asked them what they learned about how littleBits work. I then gave them a teaser by telling them they would be building their own flashlights in the next program.
 Lesson 2: Flashlights
To prep for this program, I prepped by placing the Power bit, button bit, wire, and bright LED bit into a gallon ziplock bag. I placed all the other bits out on the table where the kids would replace all their bits after the program. I also had some toilet paper rolls out, and some plastic cups that I cut the bottom out of. When kids arrived, I gave them a bag with the bits they would need, as showed them the toilet paper rolls, plastic cups, and rubber bands, and asked them to make me a flashlight. The kids knew what to do! After they built their flashlight, I invited them to go into our Storytime room with the lights out to see how well their flashlight worked. To finish out the program I invited them to go to the bit table, choose any bits they liked, and play. Kids loved it!
 Lesson 3: Prank hand buzzers
Again, I pulled the bits out that were called for in this lesson, and placed them in Ziploc bags. I also had rubber bands available on the tables. When kids came, I gave them the bag with all the bits in it that they needed. Practical jokes can be fun, but only if the other person is surprised. Without showing them the instructions from the website, I asked the kids to build me a prank handshake buzzer that would buzz when I shook their hand. The kids had great ideas, but struggled to figure out a way to get just the button bit in their hand. But, with a little coaching, they were able to figure it out, and loved shaking my hand to get the buzzer to go off! (Have lots of hand sanitizer handy!)
 Lesson 4: Wake up Watch
I placed some paper, tape, scissors, and markers on the table for the students to make paper watches. I also put the power, light sensor, buzzer, wire, and batter + cable in Ziploc bags. (We did not have the vibrating motor the lesson plan called for, so I swapped it for the buzzer.) I set the light sensor to dark so the buzzer would not go off as students were designing. After the students crafted a paper watch, I gave them the bag of littleBits and asked them to build a circuit that would buzz like an alarm when it sensed the first light in the morning. After kids had their circuit, I showed them how to change the setting on their light sensor from dark to light. We went into the dark Storytime room, and their alarm watches were silent. I flipped on the lights, and all the buzzers went off! Yeah!
Well, that’s what we did in January, at least! We will be continuing these littleBits programs once-a-week afterschool in February. I will let you know how it goes!
What age range did you plan for?
Hello Jen,
I used this lesson plan for diverse ages, from Kindergarten-5th grade. Obviously, younger kids needed more support, but they were able to do it!