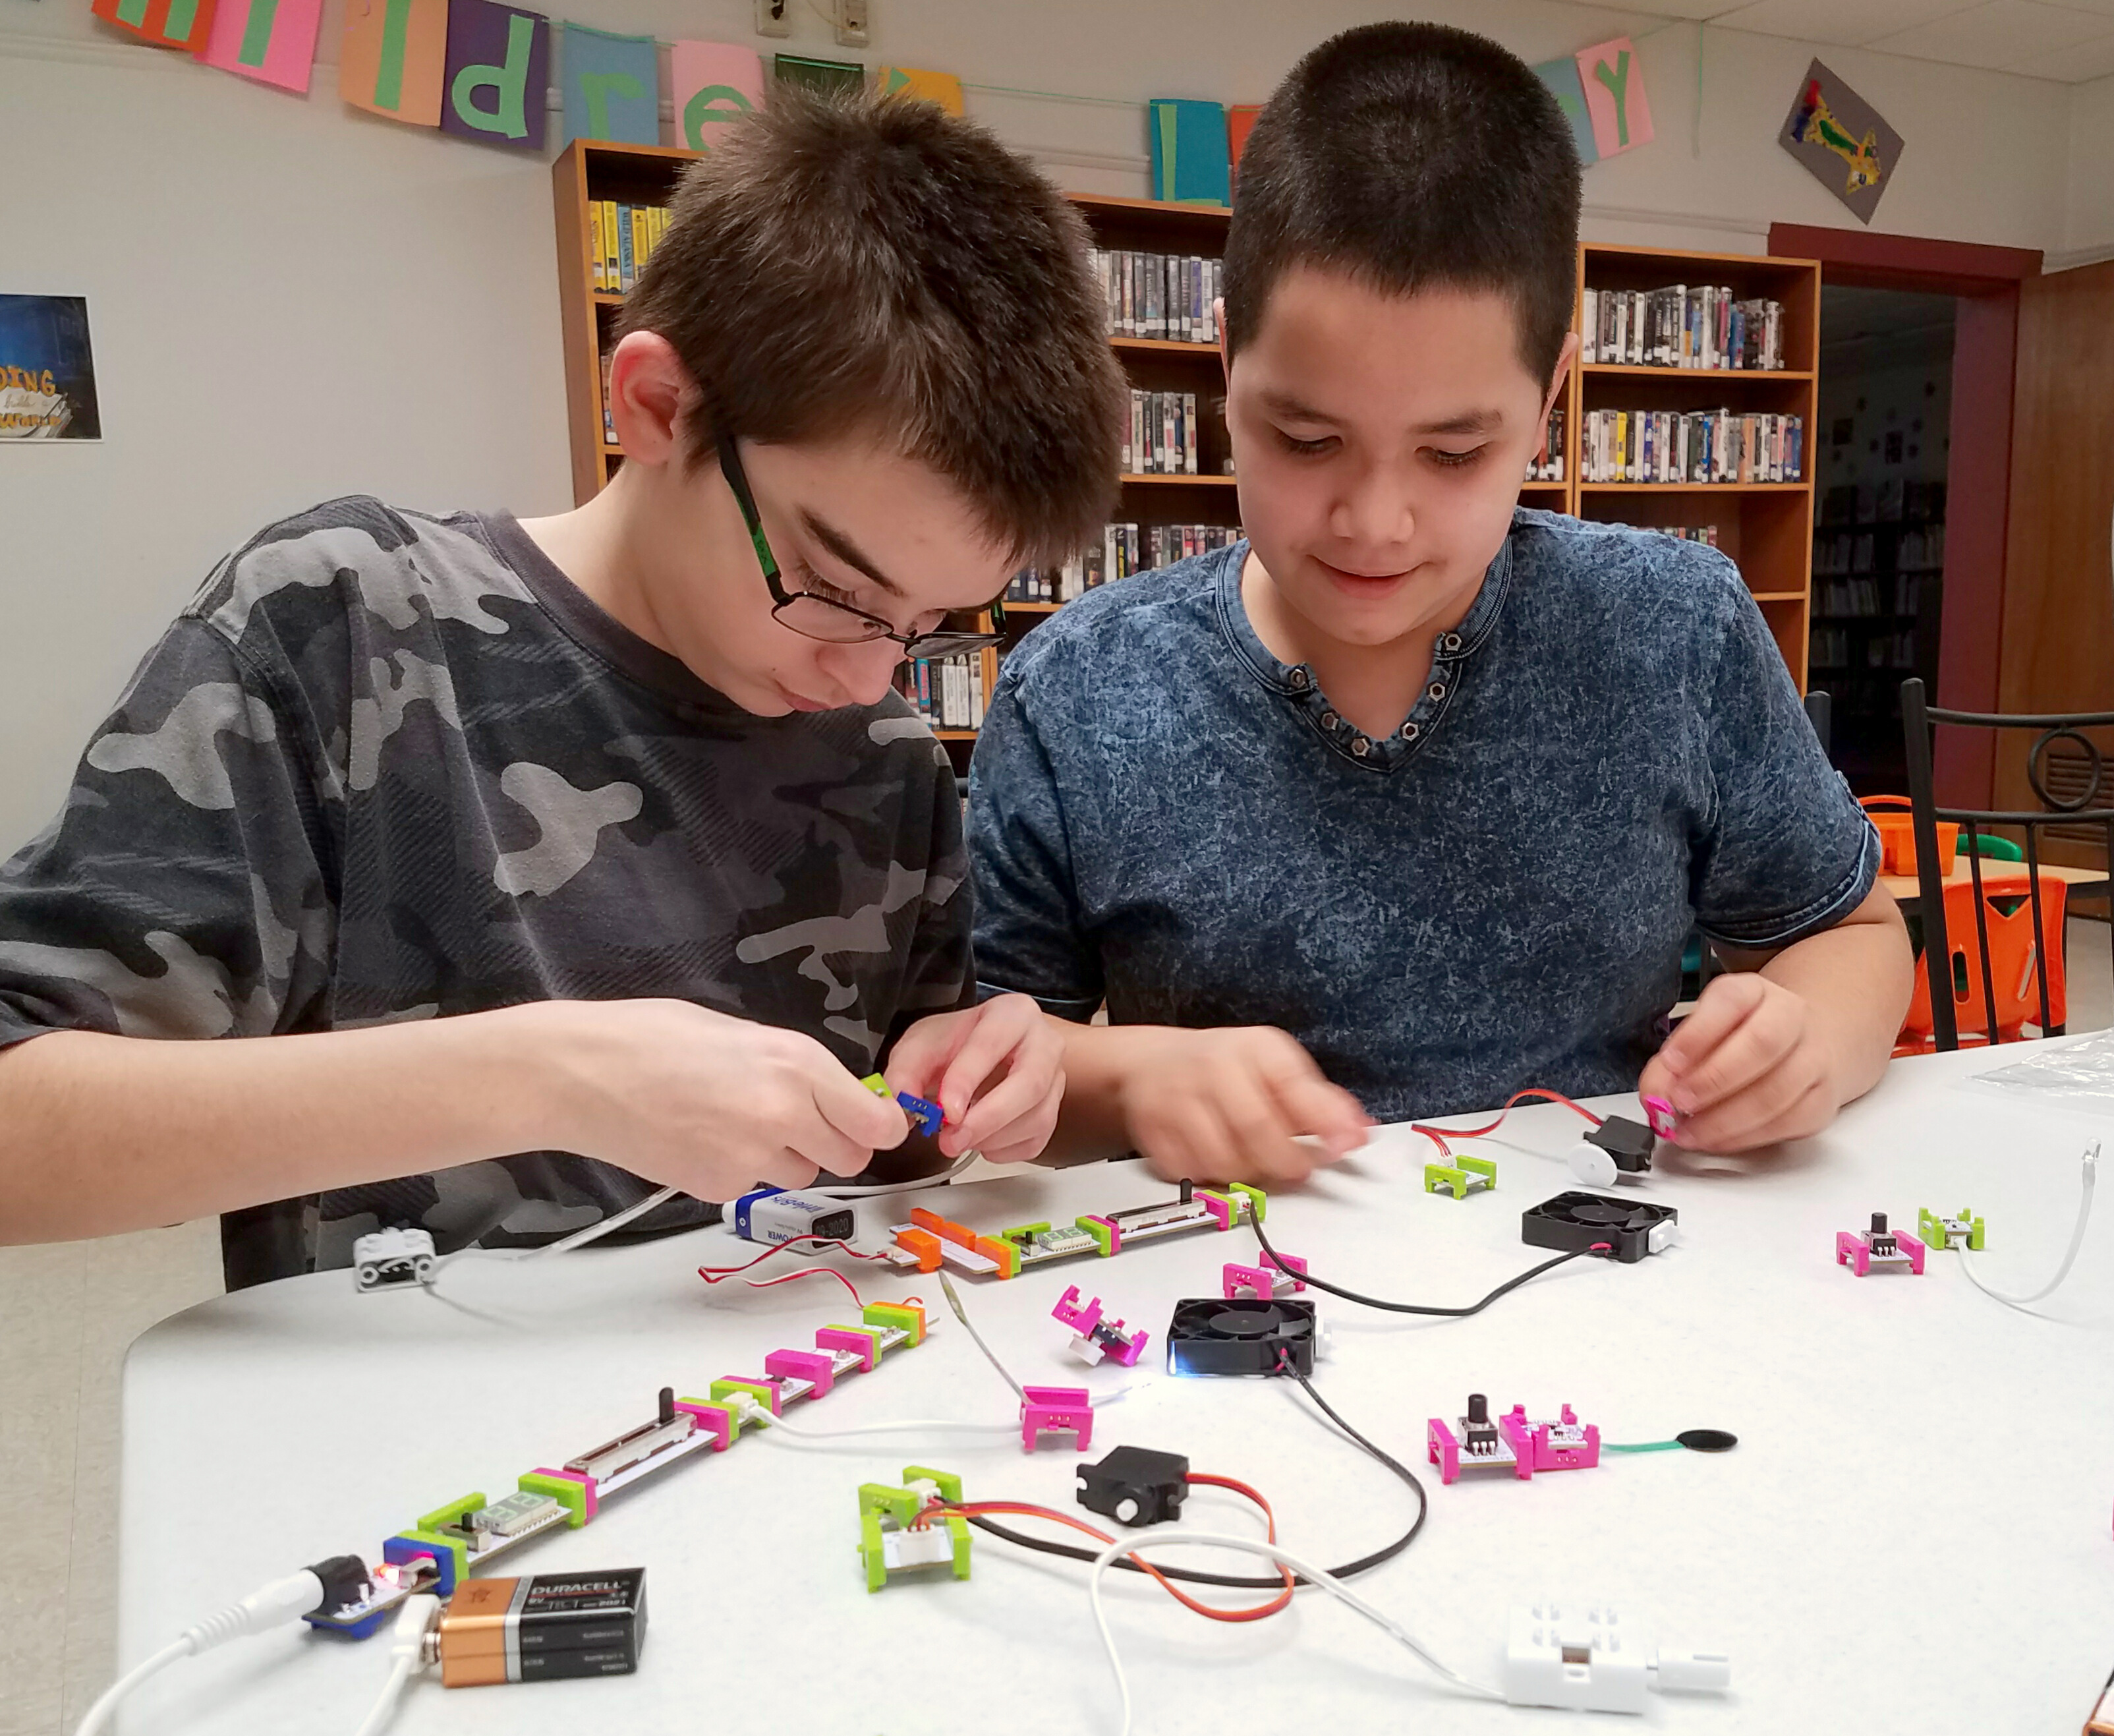
This is Part Two of my posts on littleBits programs we hosted at Brewer Public Library. Click here to read Part 1 where I explain the kits that our library is using, discounts available for librarians, and four lesson plans using the Workshop set.
Before last year, littleBits were not familiar to me. However, there is a very generous foundation in my city and they invited me to submit a grant on behalf of Brewer Public Library’s youth services department. I looked online for ideas of popular STEAM based programming at public libraries that I could use as models for my grant, and WHAM, I discovered littleBits. We have a very small budget at our library, and I try to stretch our funds out as much as I can (I budget $0.30 a child, and usually I try to do programs for less). This grant, though, allowed me to dream about programming options that I would never be able to offer otherwise.
I offered four littleBits programs in January, and parents/kids kept asking if I would continue the littleBits programs throughout February, so why not? Finding lesson plans was a little tricky, but we came up with four lessons that stretched the kid’s ideas about circuits. Our programs lasted from 30-60 minutes (including time at the end of kids to sort their littleBits and clean up). Also, we had attendees ranging from 5 years old to 12.
The videos were created to help promote the programs on Facebook. Many parents told me they came to the program just because they saw the video of what the kids would be creating. Click on the title of each lesson plan for links to outside resources that provided the inspiration for these lessons.
Bits needed: Battery and cable, power, wire, latch, inverter, RGB LED.
Bit+Co. had a great lesson plan for birthday candles made from littleBits, and I just adapted it for Olympic torches. Again, I placed all bits required (power, cable, battery, wire, latch, inverter, and the RGB LED) into Ziploc bags ahead of time to not confuse kids about what bits they needed to make the project. I also had popsicle sticks, rubber bands, tissue paper, and tape out on tables. After creating their torch, I opened up all the littleBits to them for free exploration.
Bits needed: Battery and cable, power, DC motor, light sensor, wire (2), wooden skewer, cardboard circles for wheels.
Full disclosure: This program did not work when we did in on program day. Sure, it worked for me when I tested the lesson plan out. Sure, it worked for the three kids who peaked around my desk to see what I was doing and wanted to make one to. But, on the day, it was a real opportunity to let the kids know that science and engineering is about working through challenges. We used chopsticks and cardboard cut out into circles for the wheels and axles, which did work, but I think that using LEGO wheels and axles would work better. However, all the kids were able to get their three-wheeler working before the end of the hour program!
Bits needed: Battery and cable, power, DC motor, chalk/crayon/marker, rubber bands.
Again, full disclosure, we had a hard time getting this one to work too. But, all the kids were able to get it working in some capacity, and again, it was a good moment to let kids know that it is okay to struggle.
Bits needed: Battery and cable, power, light sensor, pulse, buzzer, screwdriver. We ended our programming on a high note with this one! Kids loved the idea of a security system at school that they could build for themselves!
More Lesson Plan to Try:
While looking for lesson plans I found sever more that would be great to try in the future! If you have already done these, let me know!
