Building paper airplanes is the stuff of kids and imaginations! Intentionally incorporate some physics vocabulary terms, with some experimentation time, and you have a fun program to interest kids of all ages!
The skinny: This was one of the more challenging programs I have done. I try to plan our STEM programs so families can come together, and we have kids who are three years old with siblings who are ten years old. That is a big age difference, but my most successful programs happen when I am able to find activities that allow kids of differing abilities to acomplish the activity successfully. Airplanes are hard because making folds in paper according to directions is not something that young kids intuitively know how to do. But, it was a great exercise in showing kids how to follow directions, a necessary skill in STEM.
The cost: $0. I set out some white copy paper, pink construction paper, and masking tape. We also set out pennies from past programs that we keep saving and re-using. We already had all these supplies on hand, but if you needed to purchase the paper and masking tape, I would estimate maybe $5 in supplies. At most.
Resources: There are great blog posts out there on airplane STEM, but two of my favorites planning this program were Airplane Science by the Show Me Librarian and STEM Paper Airplane Challenge by Kids Activities. I also utelized the book, Paper Airplanes by Jenny Fretland VanVoorst.
 How it went: We began the program by sitting in a circle and talking about paper airplanes that we had all built in the past. Kids have great stories about planes they have built and the different “flight” patterns their planes exhibited, and it was a great way to build comradery in the group and practice conversation skills. By the way, I had kids in the program as young as two and as old as ten. I then took out the book, Paper Airplanes by Jenny Fretland VanVoorst. Depending on the group you might want to read the whole book, or, especially focus on pages 12-19. For our program, we focused on the physics vocabulary terms” Gravity, Thrust, Lift, and Drag. After reading the book I wrote those four words on the whiteboard and we talked a little bit more about those terms with an example paper airplane.
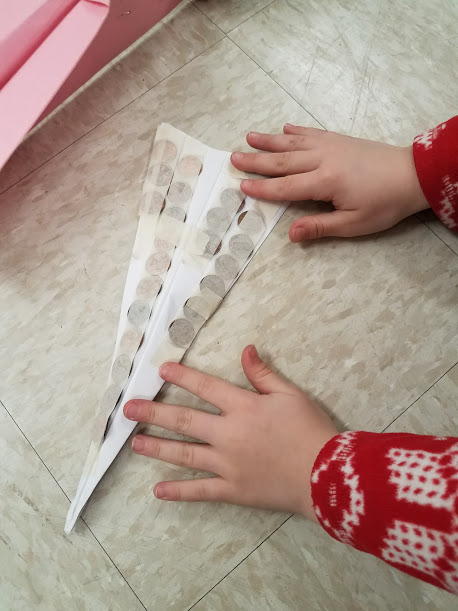
Then, it was time to build! I had a copy of instructions for the classic paper airplane open on the table similar to these instructions. Some of the kids were able to fold the paper into the pattern, and some of the kids needed help. No problem. After building their plane and testing it out, I invited the kids to tape down pennies on the wings, bottom, and sides of their plane. The challenge was to see which plane could carry the most money “cargo”. After the kids had taped their pennies down, we had a contest of sorts where the kids were able to line up and fly their airplanes. WARNING: be sure that no one is in the way when the planes go off! Pennies will fly off the planes, so just be careful! No one got hurt, lots of kids were laughing and smiling, and parents chuckled to see their kids having so much fun. It was also a good way to practice safety instructions, which will be helpful as these kids keep advancing in school and taking science courses.
 The kids loved seeing their planes fly! We went back and forth between flying and going back to the work tables to tweak designs. In the end, I think we had about 12 rounds of flying the planes before having everyone sit down in a circle again. We talked about our four physics vocabulary words that help explain the forces behind why paper airplanes fly (and crash). I also was able to ask the kids how much money cargo their plane was carrying at the last round. After a few minutes of sharing, I asked the kids to help me pick up pennies that had dropped to the floor. Kids asked to keep their airplanes, which was a good sign they had enjoyed themselves. One mom commented that during a snow we had about a week ago her sons had built 70 paper airplanes in one afternoon! However, they did not know how to fold them correctly, so none of them flew as well as her sons wanted. She specifically brought her boys to this program to learn how to fold their paper airplane so it would fly, and I think her sons were some of the proudest children all evening of what they were able to build by following the directions.
Have you done a paper airplane STEM program at your library? I would love to hear about it!


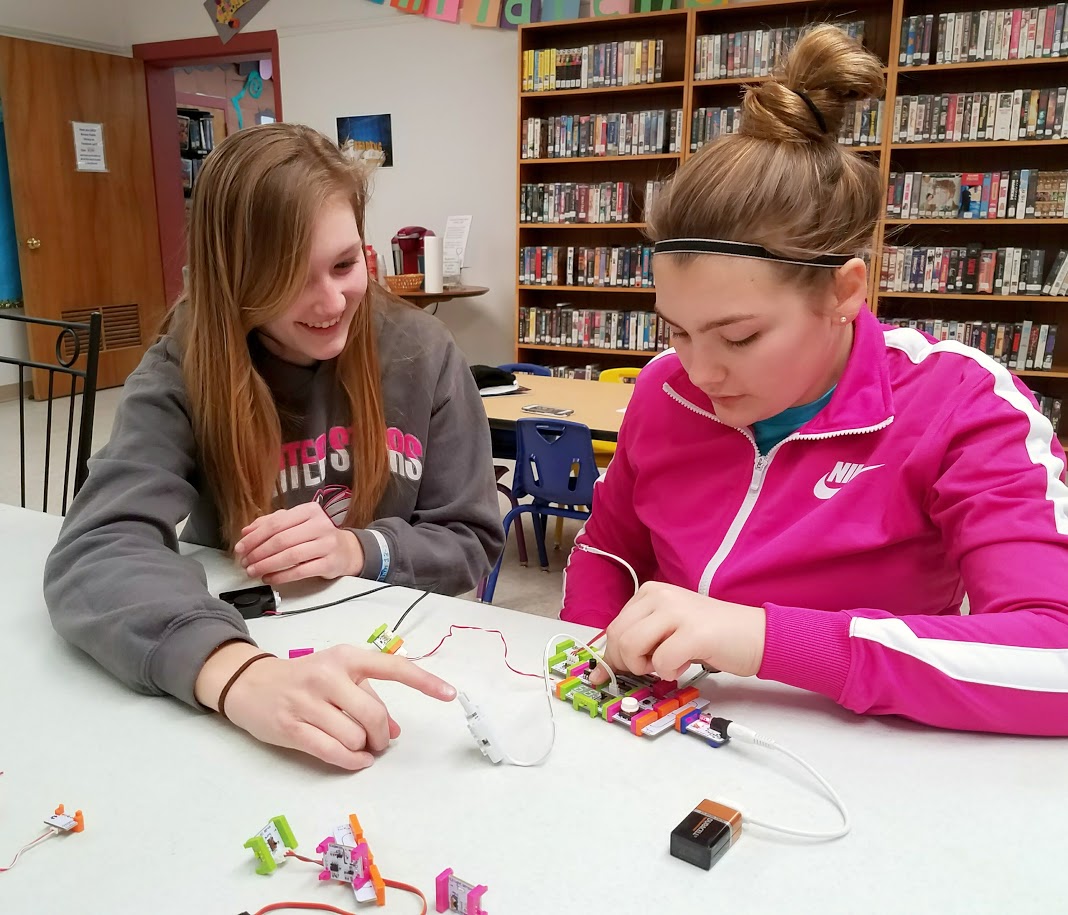
 LittleBits has many kits to choose from, but I wanted something that would allow me to lead a whole room filled with kids in a program. I wrote my grant to purchase the