
Who loves bats? You know, those amazing mammals that fly, eat mosquitoes and harmful insects to farmer’s crops, and represent good luck when seen in China? How do those bats fly and swoop in the air, so much more agile than birds? Better yet, can we make a simulation of a bat that also swoops like the real thing? You bet we can, in Kids’ STEM Workshops!
The skinny: This program totally came from an area science teacher. I asked her if she had ideas for October themed programs, and she came in and gave me the template to make this project. Although there is lots of folklore and fears associated with bats, they are an important part of our natural diversity with important jobs to do. They also are mammals that fly, and their unique wing design allows them to swoop and dive mid-air, something that birds simply cannot do. Our activity made a model of a bat with a challenge: can you make this paper bat swoop and fly like a real bat? Best yet, this program cost us $0 to offer and it filled our library with swooping bats and a lesson about flight!
Cost: This program cost us $0 to offer. All that is needed is copies of the bat template which you can download here. I am not sure of the source, so if you know, please tell me and I will be happy to give credit! I justbhad received the temple as a single sheet from my teacher friend. You also need small paper clips. Plan on each child using 2-6 paper clips for each bat. We had some perforated ones left over from Straw Towers STEM workshop. The paper clips did not work for that program, but they worked just fine for this! Paper clips, copies, tape, and child-safe scissors to cut the bat template out. That’s it!
Resources: I learned a lot about bats through doing this program. These YouTube videos were very helpful:
All About Bats for Kids: Animal Videos for Children – FreeSchool
How Bats Fly | HowStuffWorks Animations
I used this true/false quiz about bats which I asked the kids after we talked about them. I also read the first few pages of the book, Zipping, Zapping, Zooming Bats to the group for some additional great bat facts!
How it went: Like always, I had all the kids come into our Storytime/Programming room to begin the program and they sat on the magic carpet. I started out asking them what they knew about bats that they were absolutely sure was true. We have a wonderful school district, and I was pleasantly surprised at how many facts the kids knew. A few of them did say statements that were not true, but with all the education on bats I had received from my resources, that opened up a perfect opportunity for me to share some of those facts. I then read the first few pages of the book, Zipping, Zapping, Zooming Bats (bringing some literacy to our science!). We then kept having a conversation where the kids would raise their hands and say something, and I would be able to add a fun fact to every comment they had. We then talked about why bats can fly the way they do. Several of the youtube videos above have great explanations and I just made some notes to share. I then showed them the model bat that I had made (see photos below) and set it loose in the room by flying it like a paper airplane. It looped and swooped beautifully, to many gasps from the kids. I showed them one of the copied bat templates and told them they would need to cut theirs out. After cutting, they would need to tape the small “rudder” like piece to the back of the template, with the narrow “tail” like piece pointing towards the feet. Then, their bat was ready for flight tests. They could bend the wings however they liked. They also could put paper clips on their bat for added weight. After about 30 minutes we would get together again and they could tell me about their bat.
 I had tables set up in the main programming room that already had tape, the paper bat templates, and scissors on them. The kids cut their bat out, taped on the bottom “rudder”, taped the head piece back, and then began experimenting. Where you place the paper clips changes the flight pattern, and it was fun to see the kids changing the position of their paper clips, or adding more or less, based on what they saw other kids doing.
In the image to the left, the bat template is cut out, and the “head” part is taped back. There are also two paper clips on its wings.

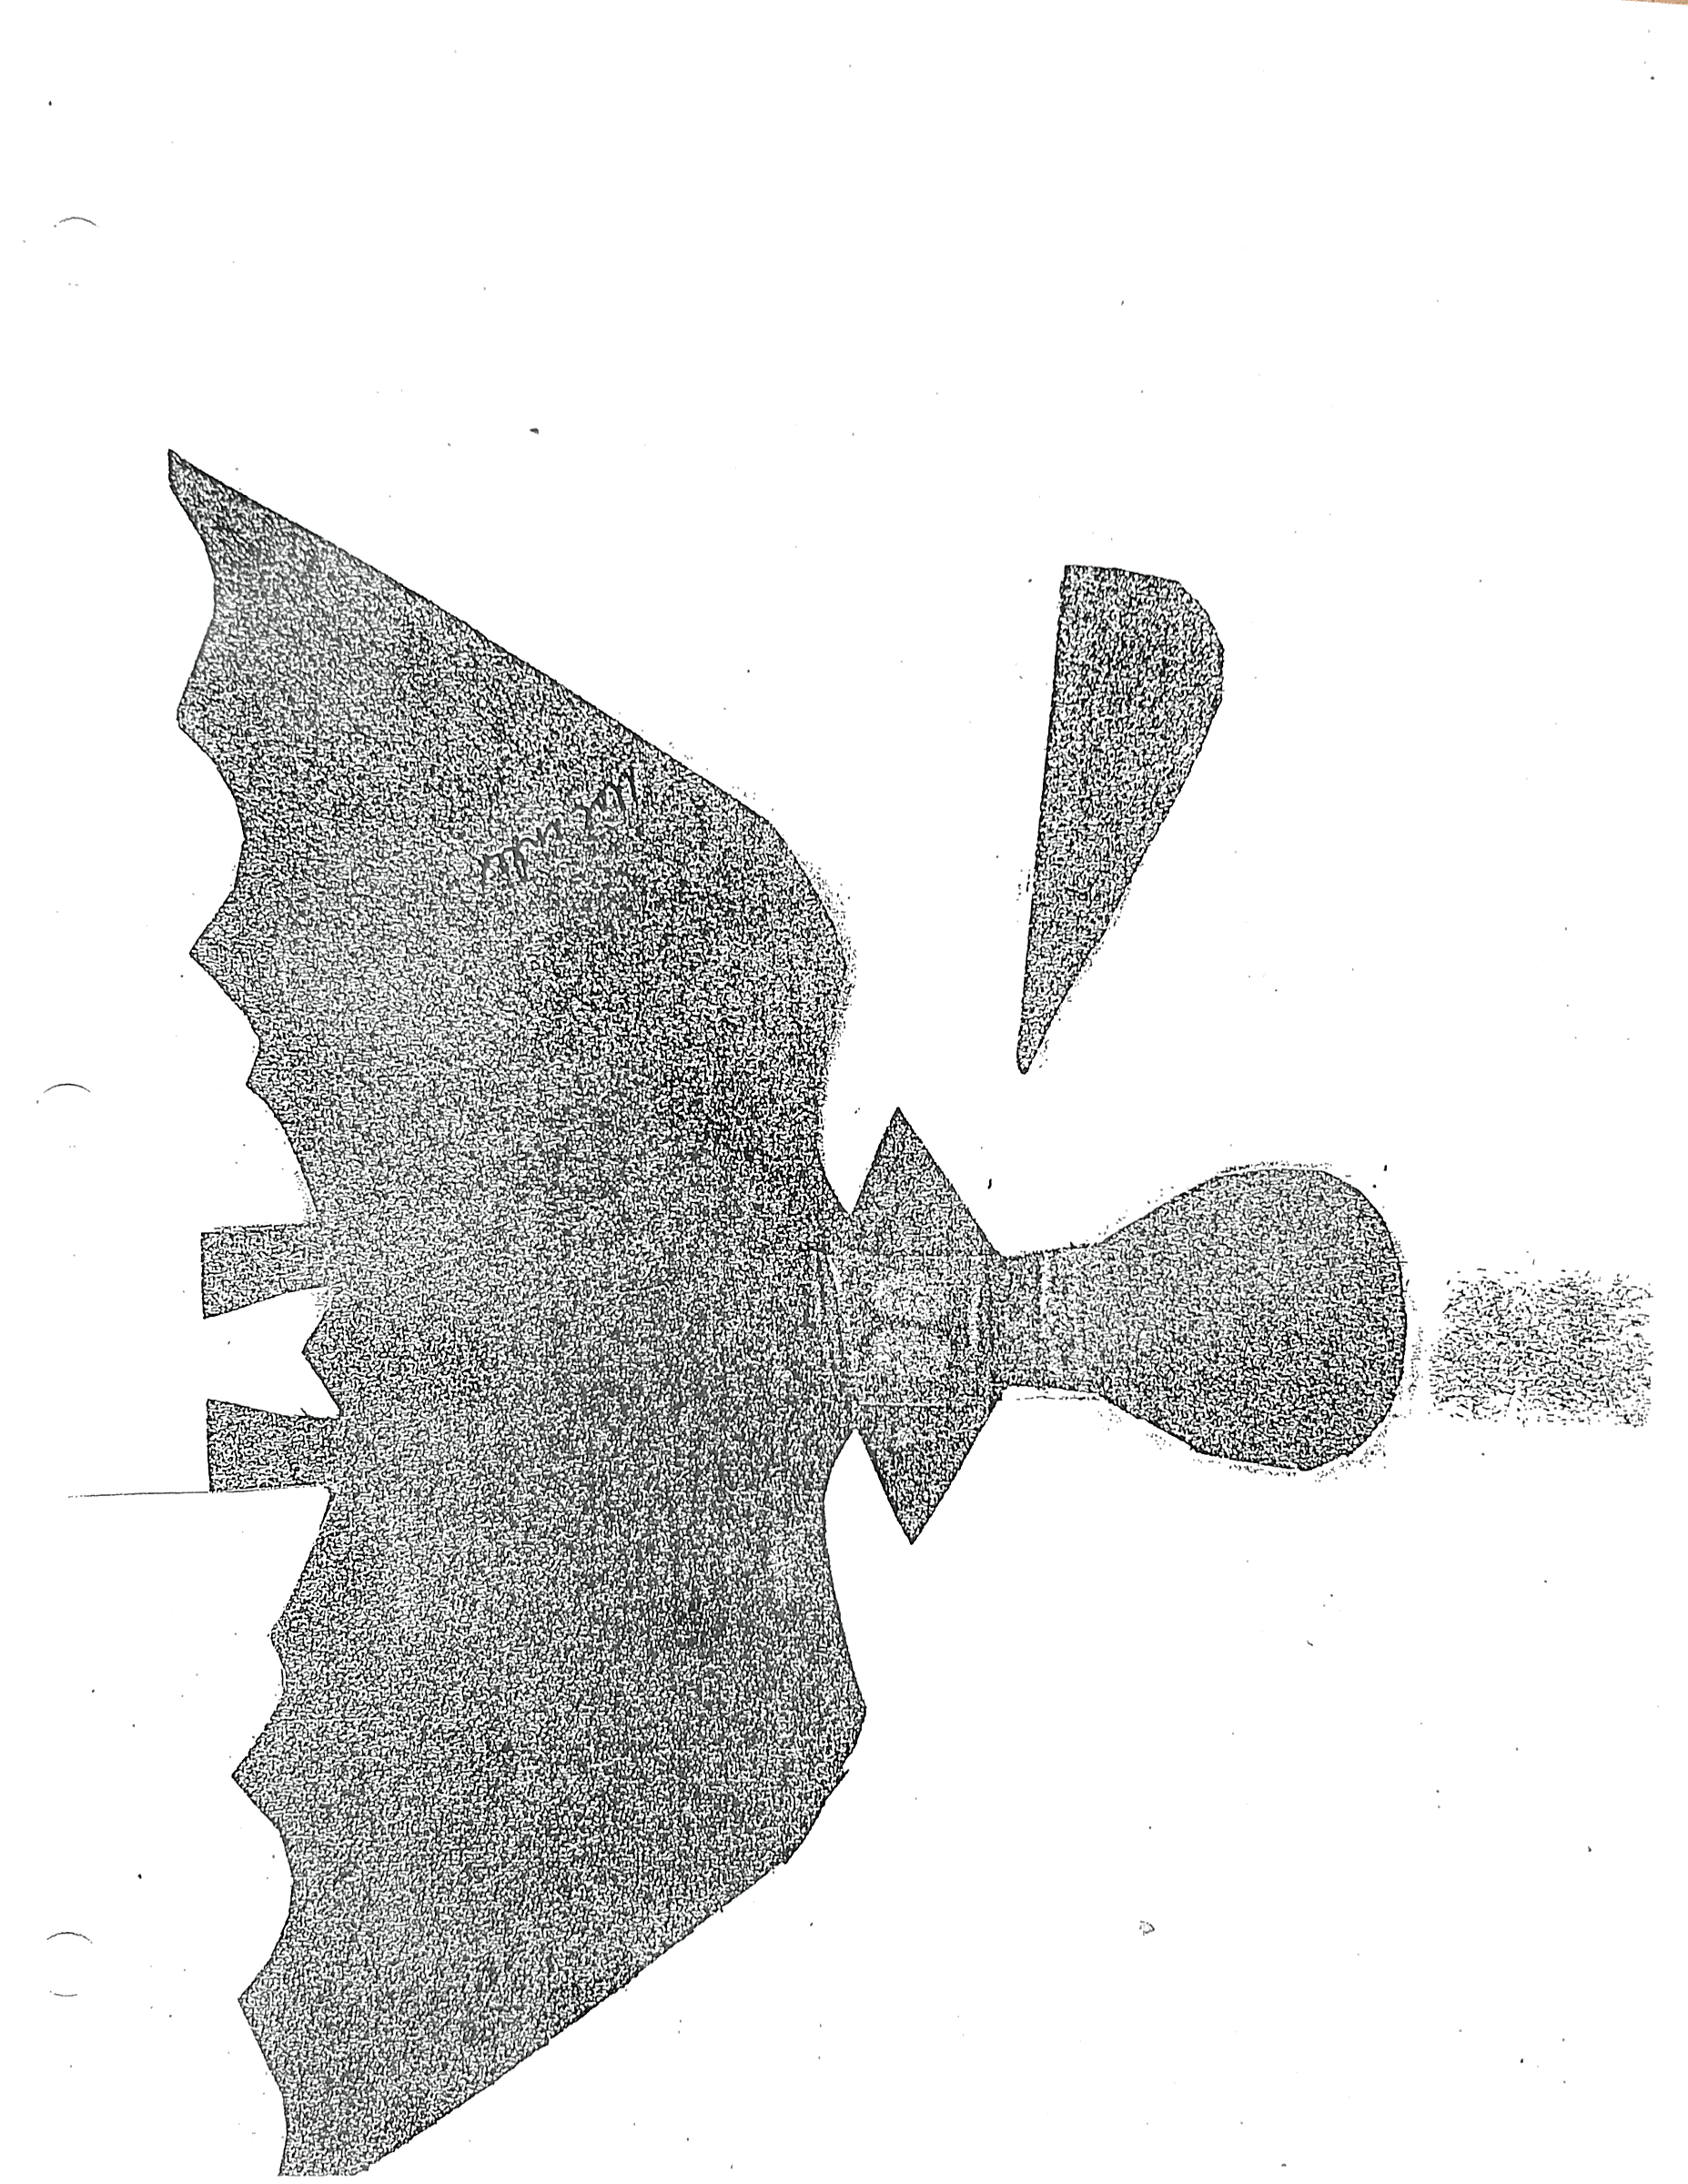
Here is what the bat looks like when the bottom “rudder piece is taped to the bottom of the bat template.
 And, here is the template once more. Enjoy!