Tabletop Coding
One aspect of the coding revolution that is sweeping libraries around the country is the idea that we can expose youth and adults to coding concepts without even needing a computer. This is based on the idea that coding follows logic, and logic we can demonstrate and experiment with without fancy equipment. This is great news if you have a large group for a coding program, and you know that you do not have enough devices or gadgets for everyone!
I was able to lead a no-tech coding program for a class of 5th grade students with no computer needed. We worked on the Tabletop Coding kit, which you can download from Wiscode.org. This lesson plan does not require any technology, and instead uses a checkerboard, two game pieces, sticky notes, and index cards to show students that computer programs are made from sets of instructions to achieve a pre-determined goal.
And…even without technology…our students loved this activity!
 The skinny: This was a great program, and my students ran with it! They developed complex ideas and games just using their checkerboard and some random objects that I made available to them. Two students turned their checkerboard into the house in the Westing Game book. The goal of their “program” was to help a kid travel through the house without being hurt. I was surprised at how creative they took this, just using the simple instructions I gave them.
Cost:
$0. We already had the checkerboards already on hand! You will need one checkerboard for 2-3 students. I would not try to make the groups any larger than 3 students.
Time needed:
For this 5th grade group, this activity took about 30-45 minutes.
 How it worked:
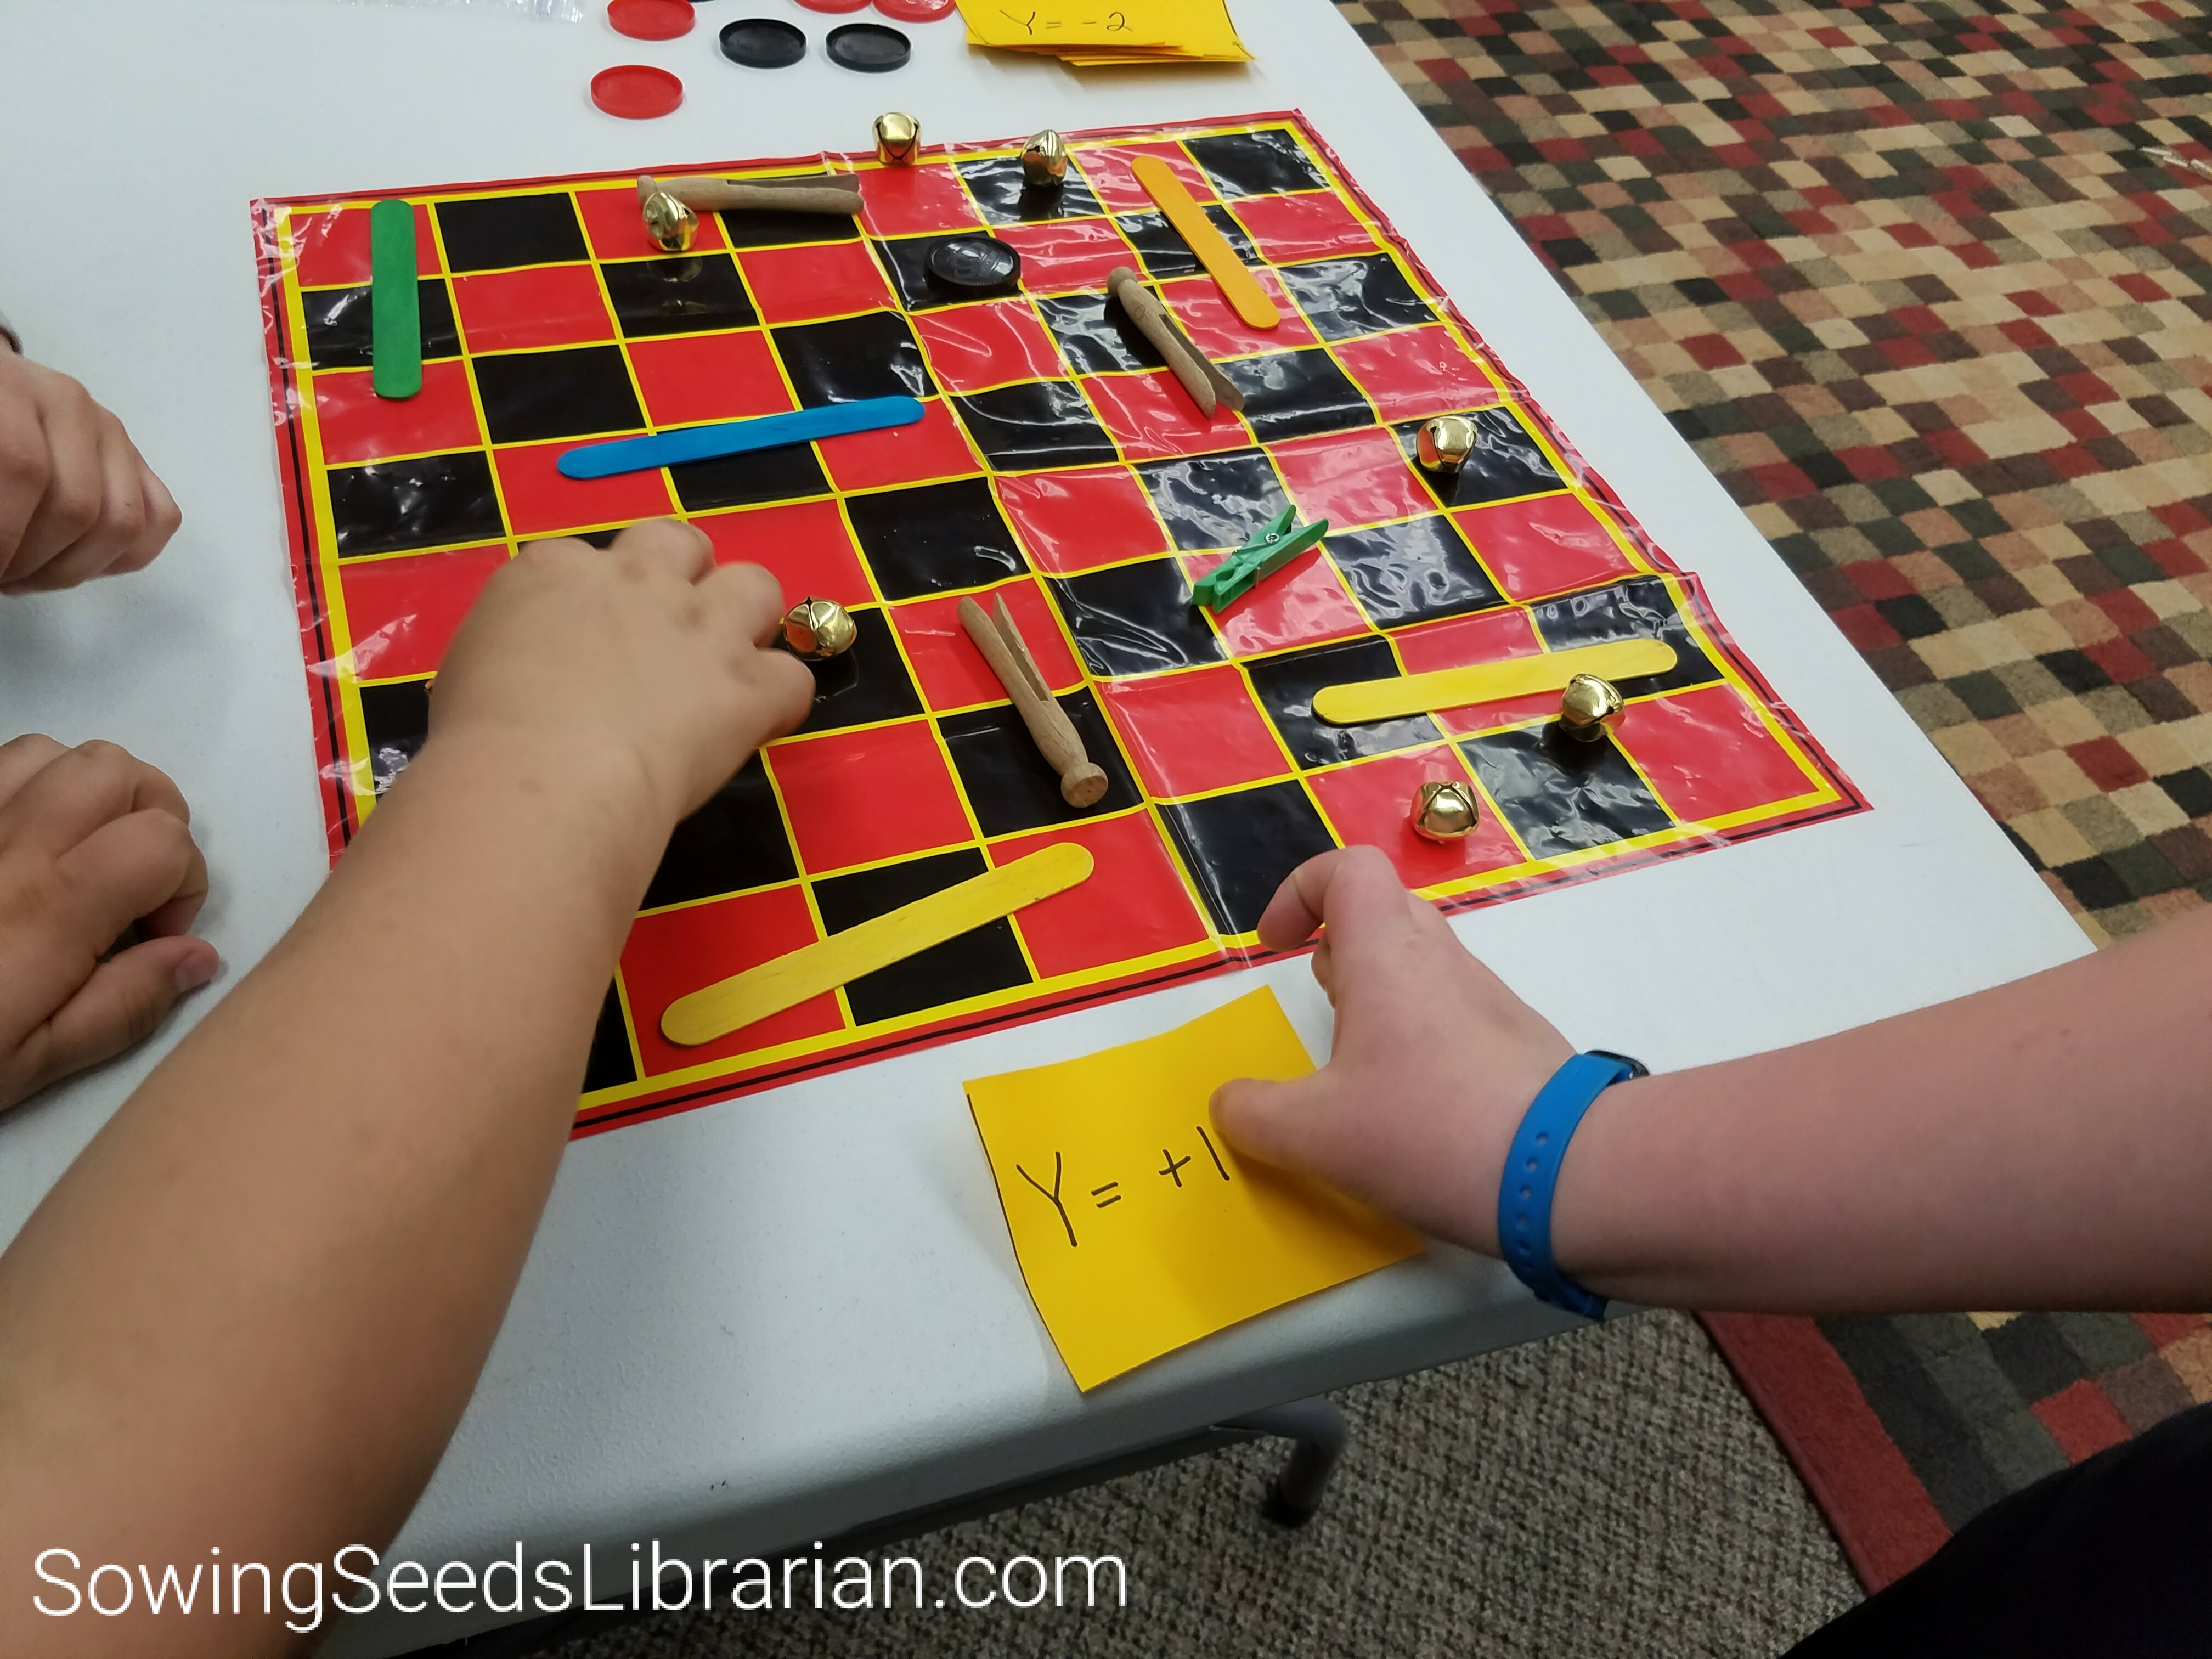
I followed the lesson plan from WisCodeLiterati. I showed the students a checkerboard and gave myself two checker pieces. I randomly placed my red and black checker piece on the board and told the students the object of their program was to write instructions to make the red checker piece land on top of the black piece without moving the black piece. I showed them the cards that I made them, and how the “X” cards allowed their red checker piece to move horizontally, and the “Y” cards allowed their piece to move vertically. I then placed a basket filled with odds and ends from my craft room on the floor. I told them that they could place these objects on their board to close off certain squares. They would have to write their program to go around these objects. I then gave groups of 2-3 students their checkerboard, two checker pieces, their deck of “X” and “Y” direction cards, and told them to have fun!
As I said, I was really surprised at how seriously the kids took this activity! They looked through their cards, and quickly found the order that they needed to organize their cards to bring their checker piece where they wanted to go. Then, they began to add obstacles and then arranged their cards again to avoid those obstacles. It was a lot of fun to see how creative they were!
This is a very simple activity, and the students caught on to the computer science of it right away! If you would like to begin offering coding programs, I would highly recommend this program! It can be adapted for any age, and it requires very low cost, set-up, and preparation!
Have you tried a “no-tech” coding activity? Do you have ideas to share? I would love to hear them!
Happy coding!